Video Upscaling Blog & Guides
Practical guides to clearer video workflows, from your first upload to saving the result.
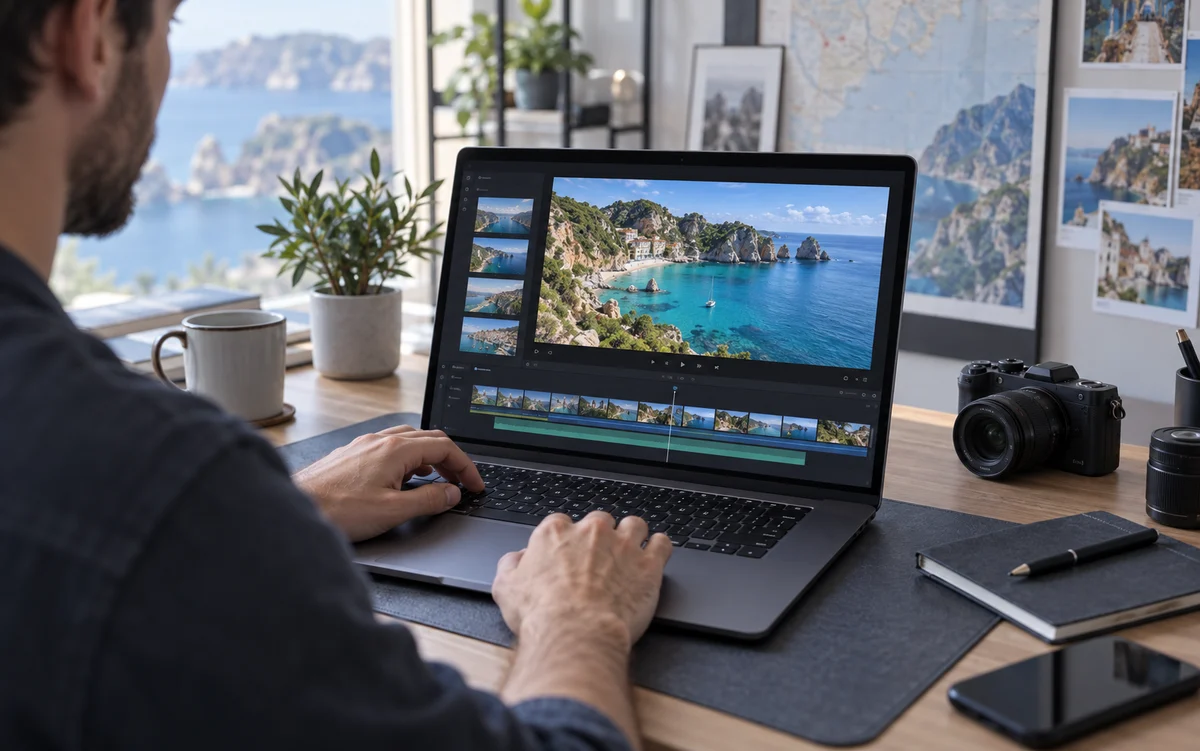
How to upscale your first video
A practical walkthrough from choosing a source clip to downloading your result.
Read more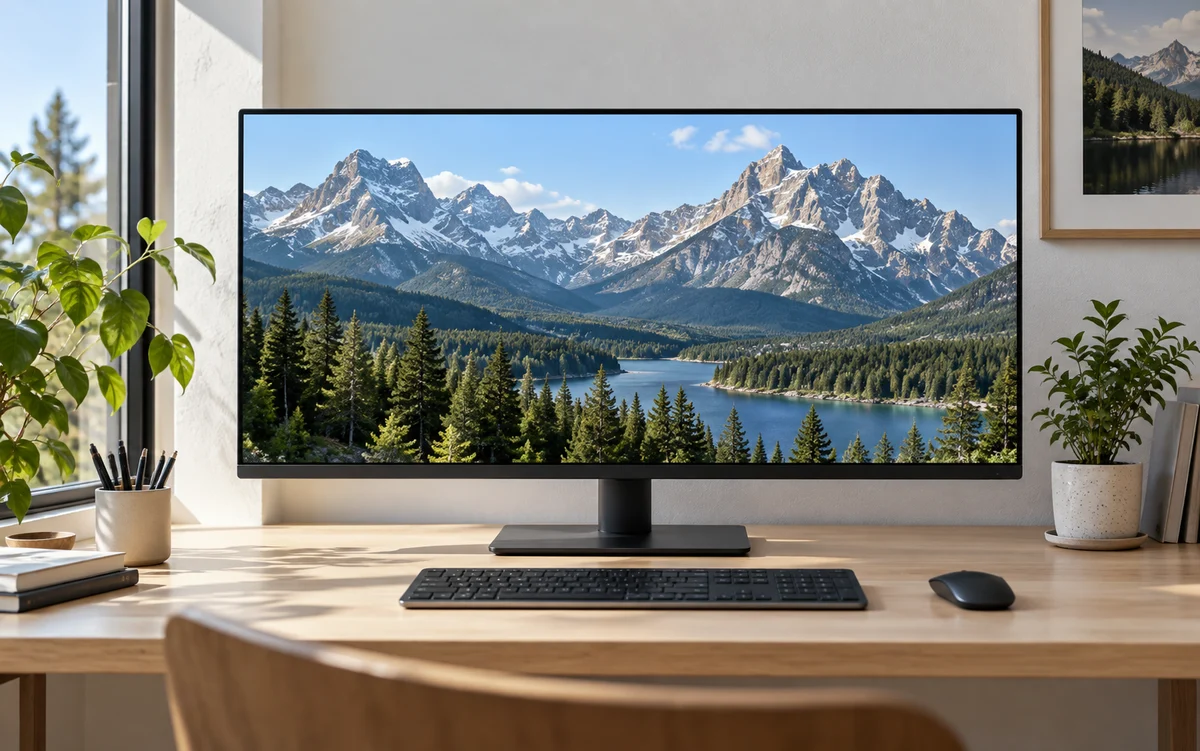
1080p or 4K: choose the right output
Consider the viewing screen, source dimensions, and credit budget before choosing.
Read moreCheck your video before uploading
Understand the supported codecs, aspect ratios, duration, and file size.
Read moreUnderstand your enhancement credit quote
Learn the difference between available, reserved, and settled credits.
Read more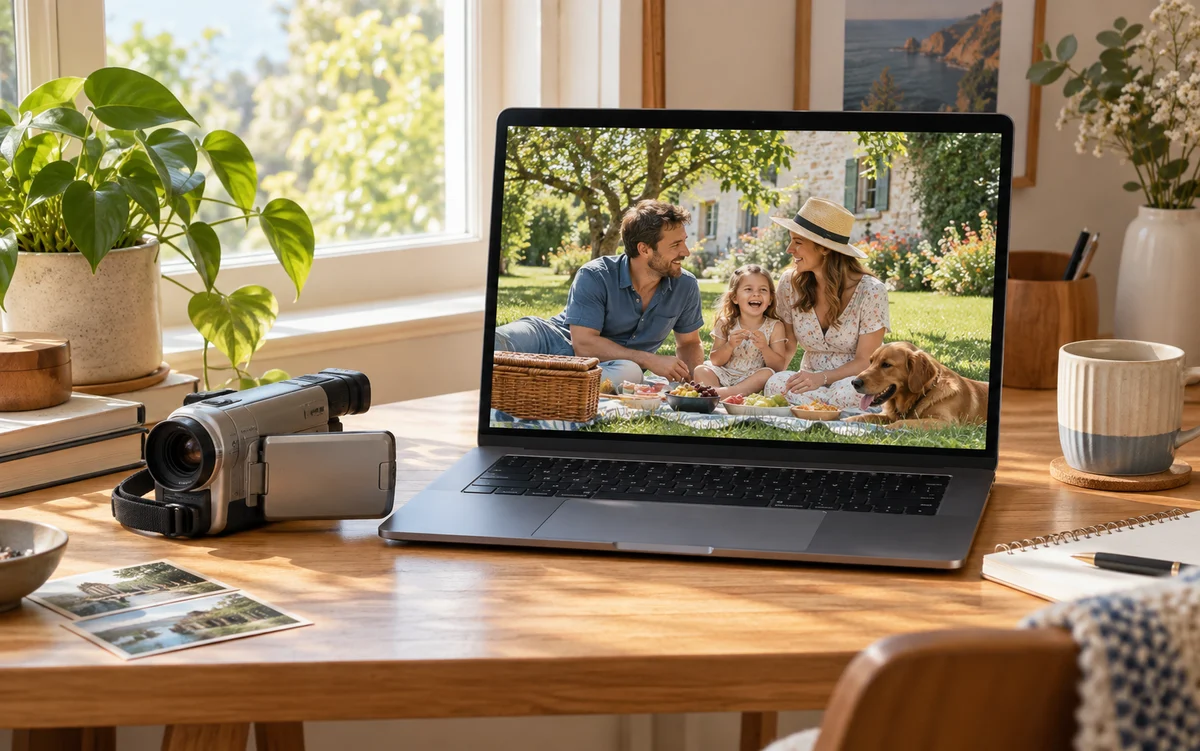
Compare and download your enhanced video
Review detail at matching frames and save the output for your next edit.
Read moreHow video retention and deletion work
Understand expiration, account access, and deletion so you can save important results.
Read more
Upscale portrait video: review faces and motion
Start with a short clip and compare edges, skin texture, and moving frames.
Read more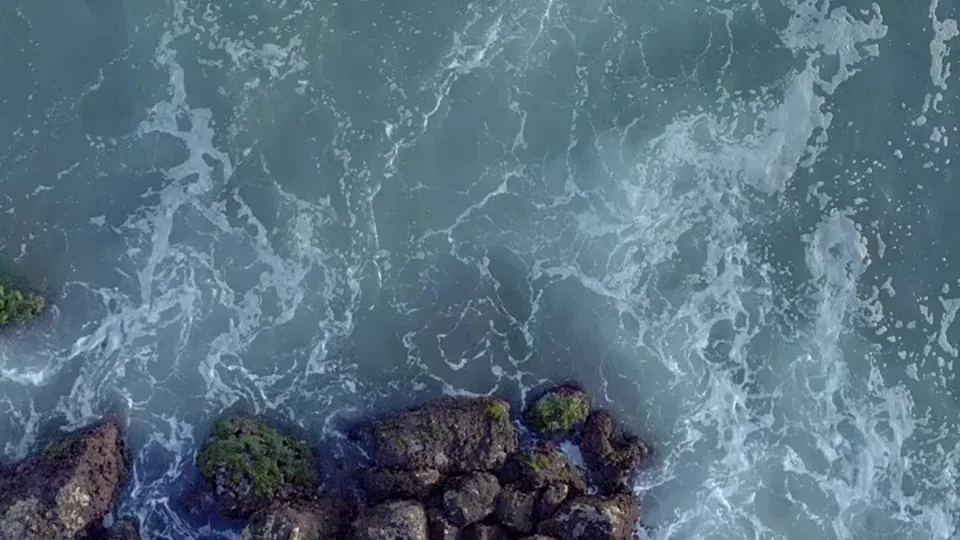
Bring travel footage to a larger screen
Review coastlines, foliage, and distant details before choosing an output.
Read more
Night video upscaling: inspect detail and noise
Compare lights, shadows, and moving edges in nighttime footage.
Read more
Food video: review color and fine texture
Look for a natural result in food surfaces, color, and changing light.
Read morePrepare an older video before enhancement
Keep the original, select a short segment, and set realistic expectations.
Read moreKeep landscape and portrait proportions
Understand 16:9 and 9:16 output dimensions without stretching or cropping.
Read more