
How to Expand an Image with AI for a Wider Canvas
Add room around your subject, choose which edges to extend, and inspect the generated scene before downloading a PNG.
Artplayer AI읽는 시간 4분
이 페이지의 내용
시작하기 전에
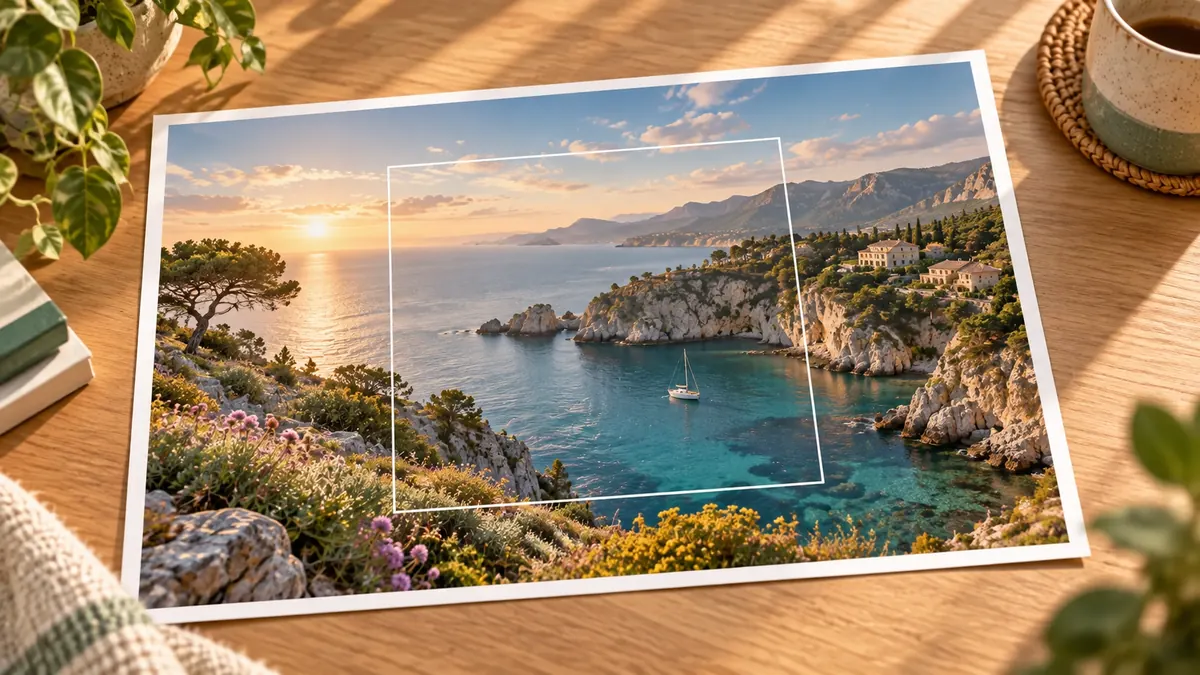
A photo may fit your subject but leave too little room for a banner, a new crop, or text in a design. AI image expansion adds canvas beyond selected edges and generates a continuation of the scene. It can help with composition, but the new surroundings are an interpretation rather than a record of what was outside the camera frame.
Choose a photo with room to extend
Start with a static JPG, PNG, or WebP up to 10 MB. Use the cleanest original you have and save an untouched copy. Look at the edges you want to extend: sky, water, or a plain backdrop usually gives you a simpler boundary to review than a face, a sign, or a detailed building cut off by the frame.
Decide where your layout needs space before uploading. A travel photograph may need more scenery to one side, while a product photo may need extra background above it. Expansion adds surrounding content; if your aim is simply to make the existing picture larger, use the image upscaler instead.
Select an edge and an expansion ratio
Choose Left, Right, Top, Bottom, or All sides, then select a 10%, 20%, 30%, or 40% ratio based on the source image's shorter edge. All sides applies the ratio independently to each edge. The interface offers one edge or all four together, rather than separate amounts for several edges.
Check the expanded canvas dimensions before starting. For example, a 20% ratio on a 1200 × 800 image adds 160 pixels to the right edge, producing a 1360 × 800 canvas. Choosing All sides with the same ratio adds 160 pixels to each edge, producing a 1520 × 1120 canvas. Start with the smallest extension that gives your layout enough space.
Check the canvas limits and output
The expanded canvas must stay within a 3840-pixel longest edge and 8,294,400 total pixels. Both limits apply together, so a large original can leave fewer valid combinations of direction and ratio. If the desired extension is unavailable, resize a working copy and check its dimensions again.
Review the current credit quote before submitting; credits follow the estimated canvas size. After upload and successful submission, you can follow progress in My files. The result is one PNG, so do not rely on it to retain transparent areas from your input.
Inspect the joins and the full composition
Compare the result with the original at a similar viewing size, then zoom in around the old boundaries. Check horizons, shadows, repeating patterns, and object edges for seams or inconsistent perspective. Pay extra attention to faces, lettering, and recognizable objects near the extension.
Place the PNG in the layout you intended to use. Check whether the added space helps your crop and whether the generated details remain convincing at that size. Keep the source separately and download the result while it is available; generated surroundings should not be treated as factual evidence of the original scene.
- Confirm the selected edges, amount per edge, and final canvas dimensions.
- Inspect the original boundaries and new areas for seams or changed details.
- Test the PNG in its final layout and keep the untouched original.